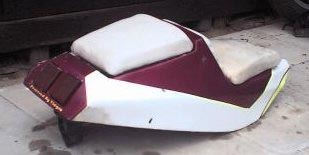
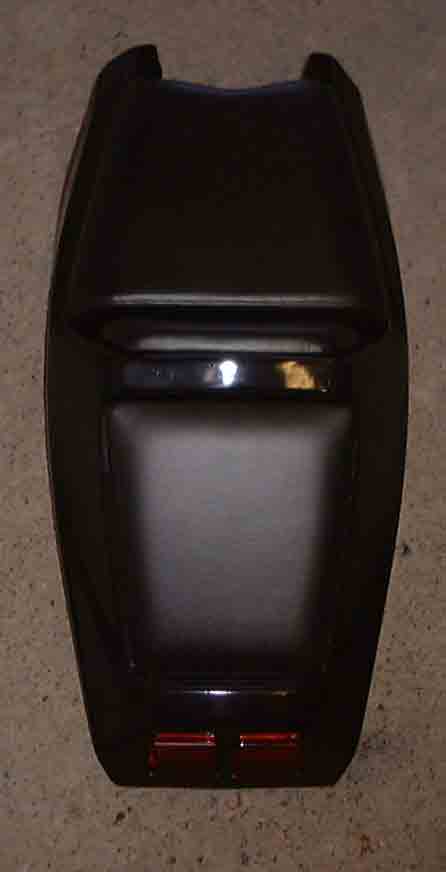
I bought this seat unit on e-bay because it looked the right shape for what I had in mind for my single seat conversion.
Can't say I liked the colour scheme though !
Dumped the seat pads as they were horrid and next to useless.
When I got it, there was no means of fixing it to the bike so I set about making a frame to fit inside the seat unit.
This would also stiffen it up an awful lot. The subframe was made from light gauge 25mm square steel tube.
I think it is called 'speed frame'.
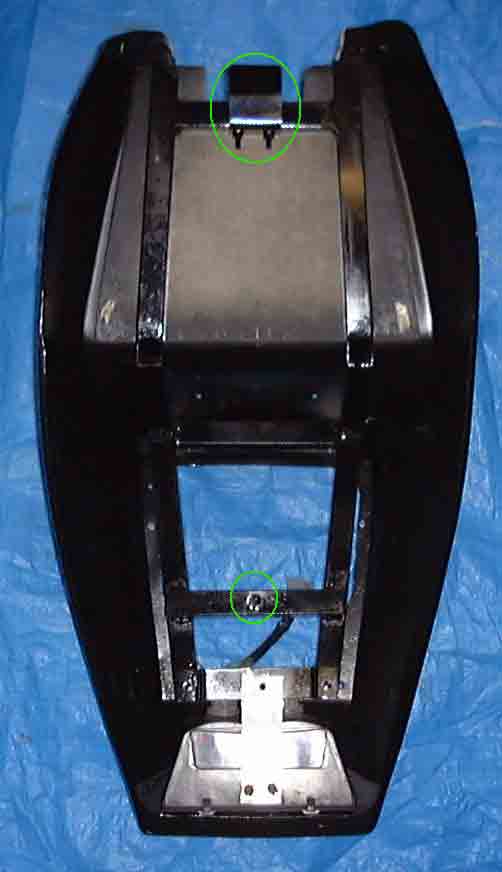
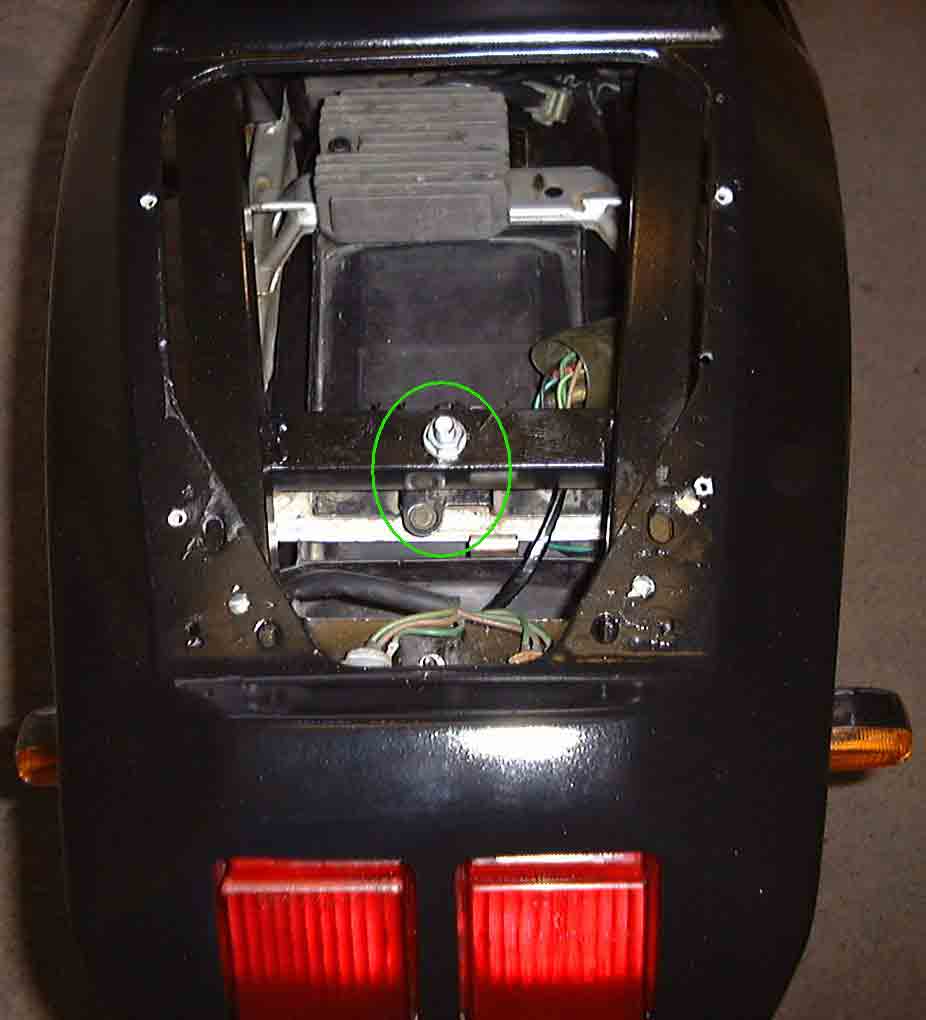
I wanted the seat unit to be as easily detachable as the original dual seat. So I made it with a clip at the front similar to original. At the rear, I made an adjustable bolt with a pin shaped similar to the original.
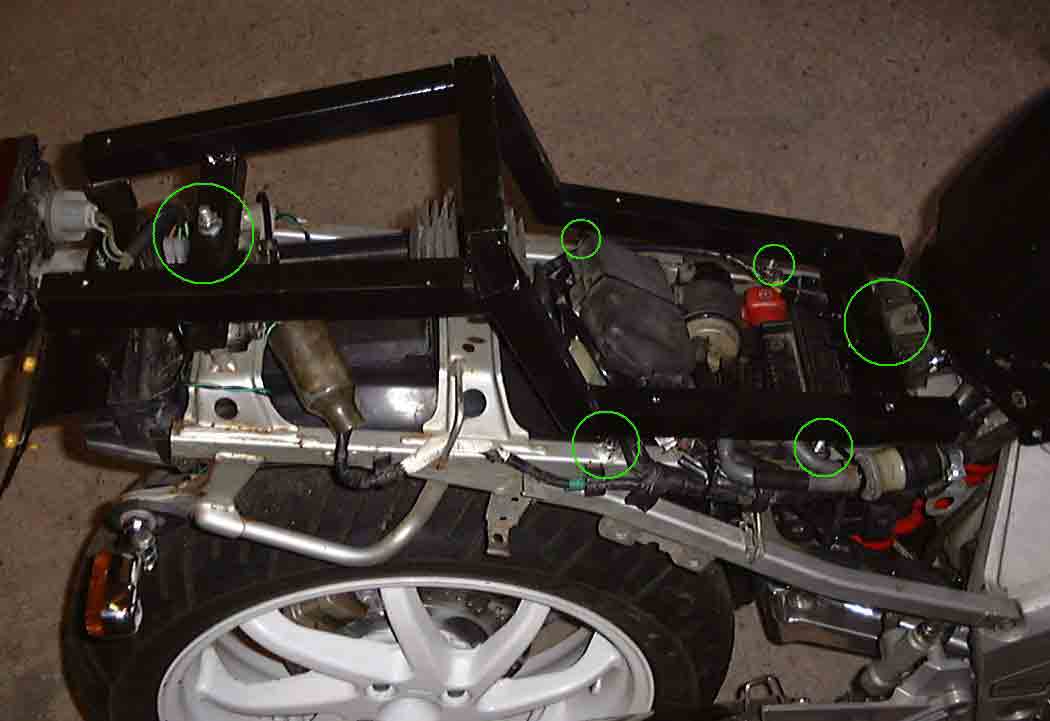
For added support I drilled 2 extra holes in the original subframe and tack welded a nut on each rail so as to allow a 6mm bolt and lock nut to be inserted and set to the correct height to support the seat unit frame I had made.
I made use of the 2 existing cowl lug bolts to give 4 support points, as outlined in the picture opposite.
All the electric's were moved under the seat as in the pic.
As yet I haven't cut off the existing excess lugs, rear footrest mounts etc as I want to be sure it is gong to look and feel right. If I like the end result I will probably move the battery under the seat 'hump' as I've left enough room to fix it there. If so then I will remove the whole rear plastic mudguard etc.
When I was happy that everything would fit together nicely it was all fixed firmly to the seat unit.
The whole seat unit can now be removed in one by using the original key and release mechanism.
I made a new rear seat pad - but it will never be used as its way too thin and there are no longer any rear foot pegs!
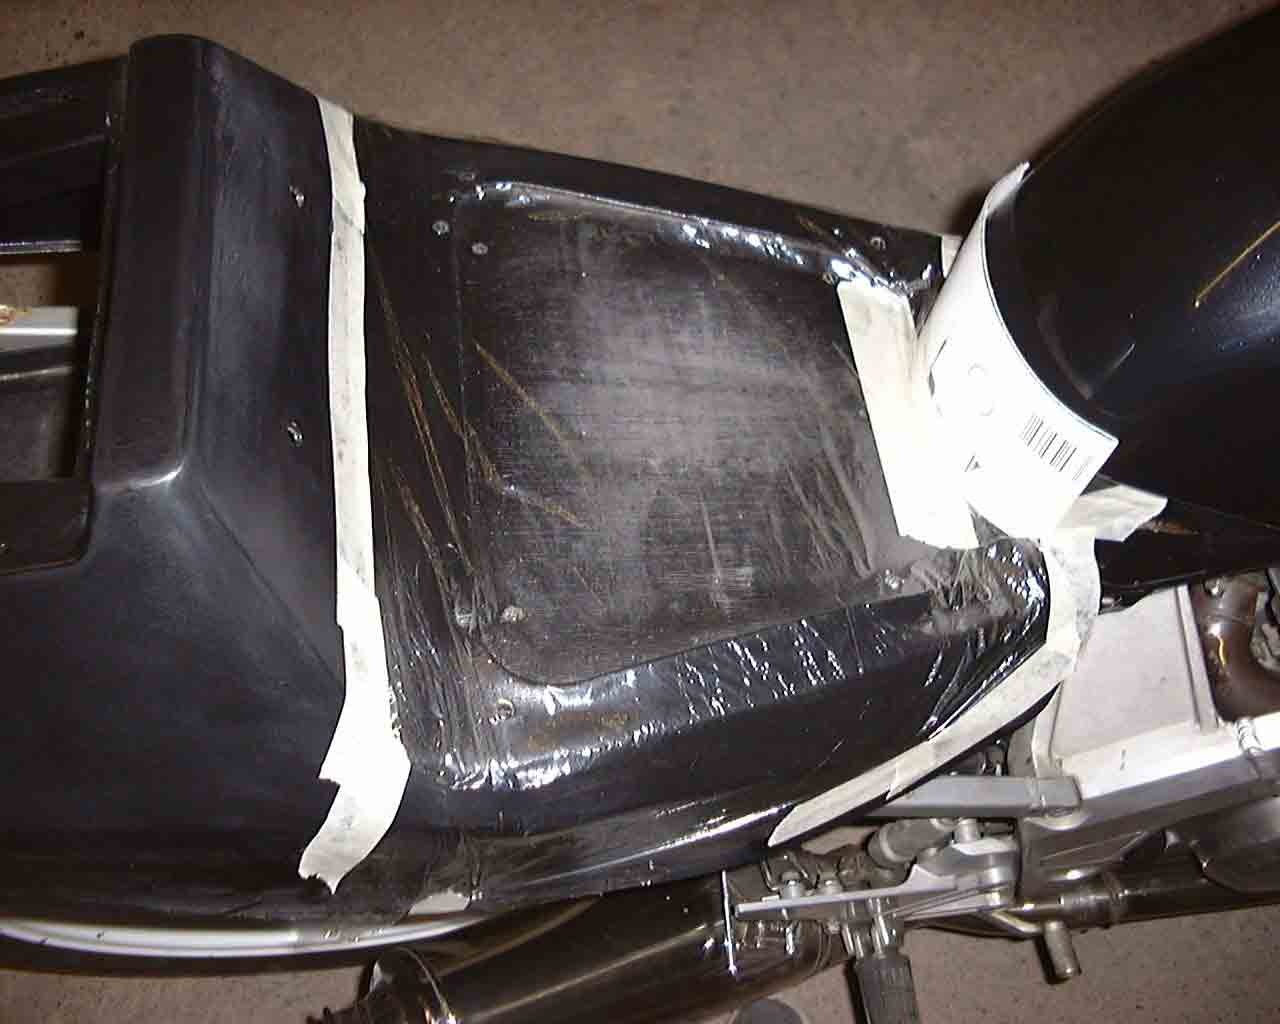
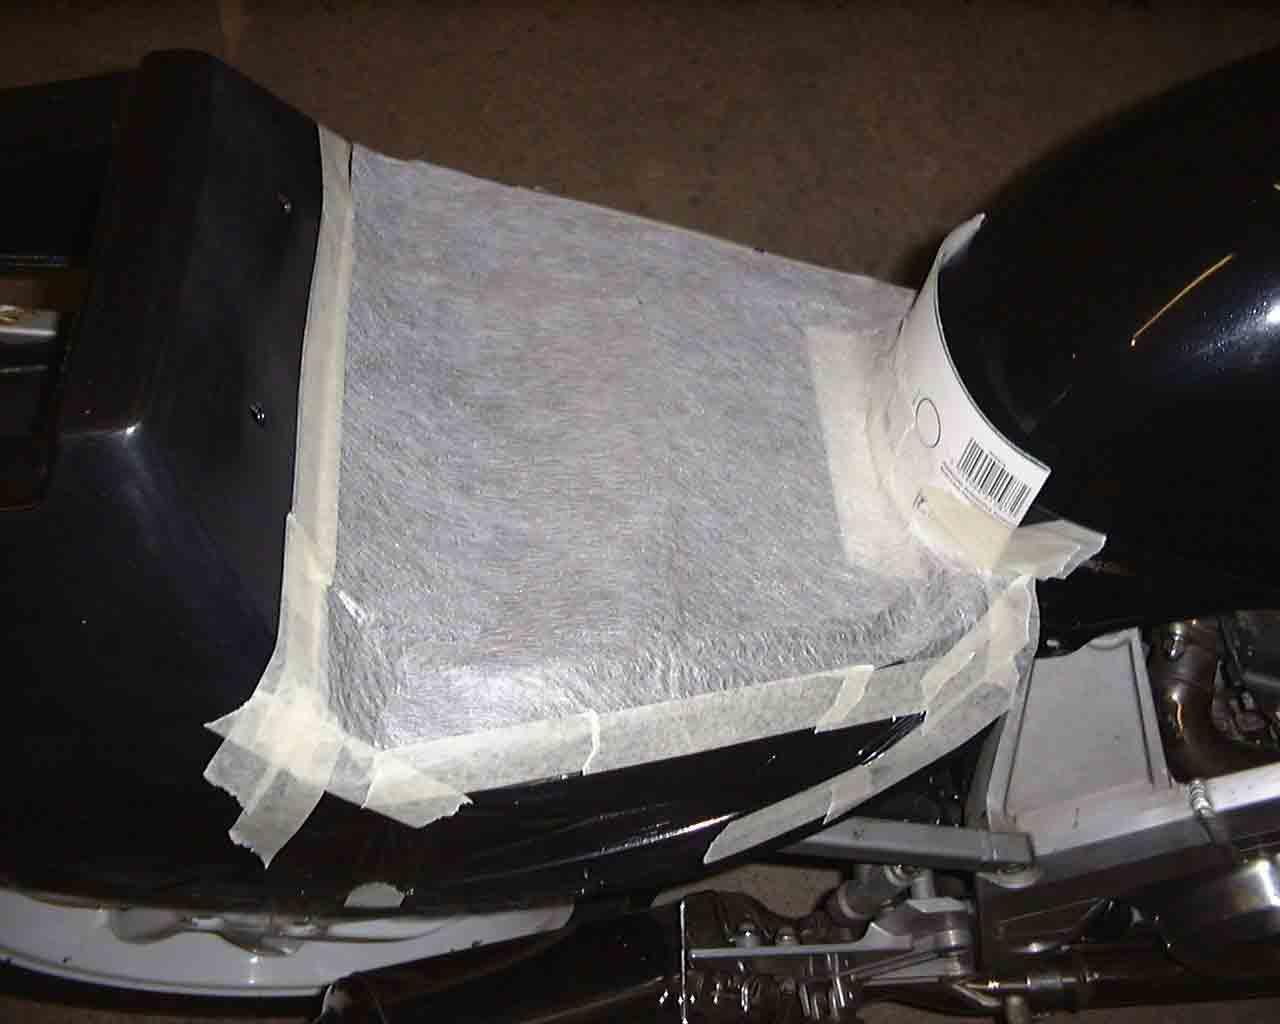
For the front seat pad I covered the area required with cling film and masked off roughly to shape. I later discovered that the resin soaked through the cling film and marked up the paint a little - someone also told me to use aluminium foil (same stuff you use to cover a turkey in the oven !!) as this works even better if you smooth it out.
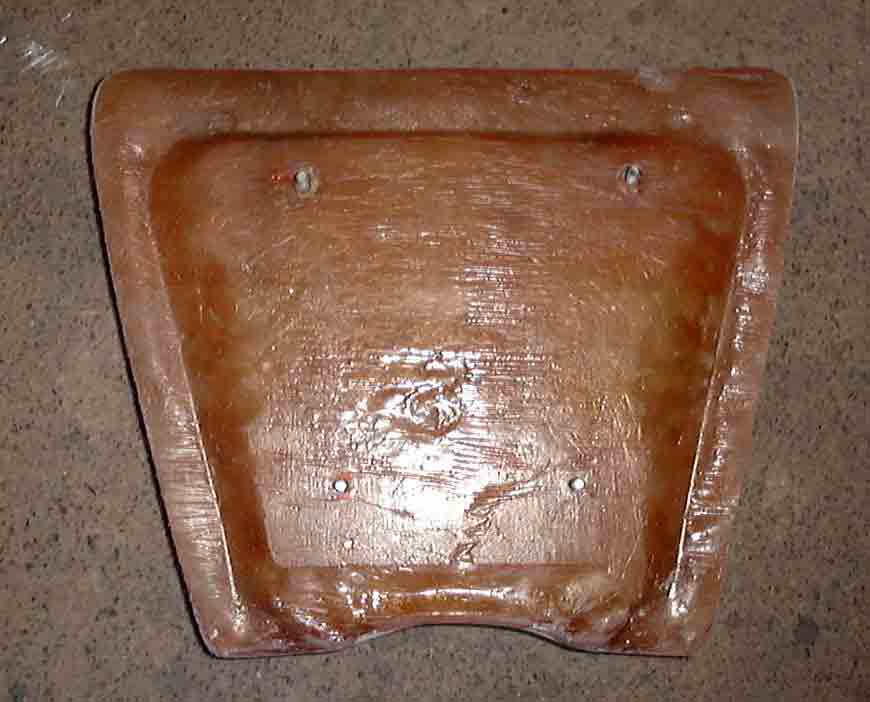
Rough cut a layer of course fibre-glass matting and stipple the resin into it, allow 30 mins to dry and then repeat with a 2nd layer of matting. After allowing another hour I then removed the roughly shaped seatpad and filed and sanded it to its final shape. Drilled 4 fixing holes and inserted 4 x 6mm bolts and then applied a 3rd layer of matt.
Next step was to get the 20cm x 20cm x 5cm deep foam cut roughly to shape.
I used some spray on contact adhesive and coated the underside of the foam and top of the fibreglass seat, allowed it to tack dry and pressed them together and then sat on it for 5 mins whilst having a smoke!
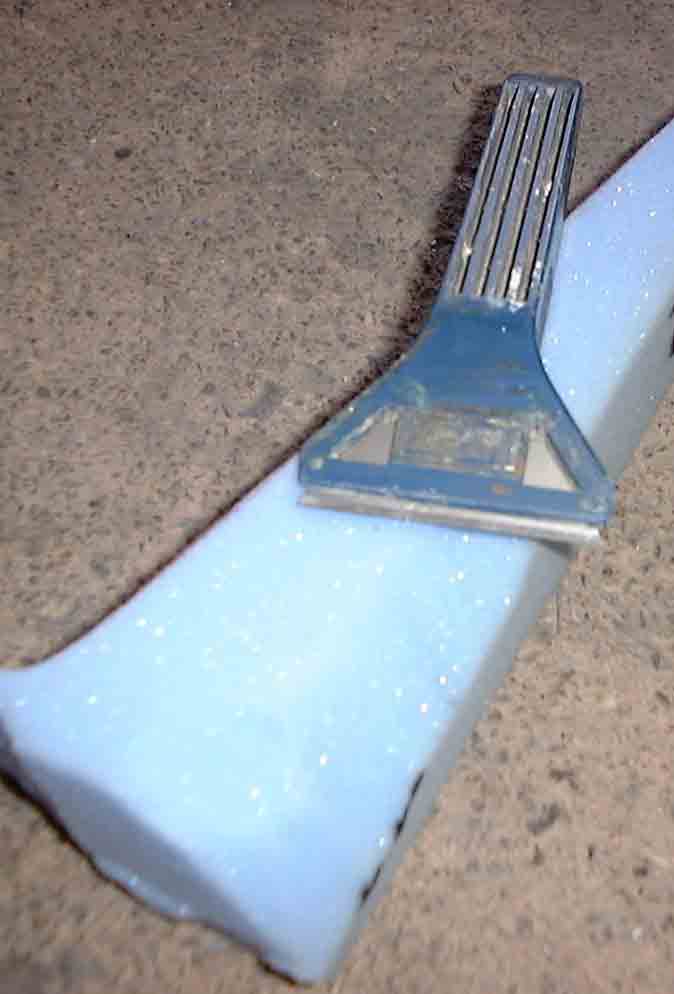
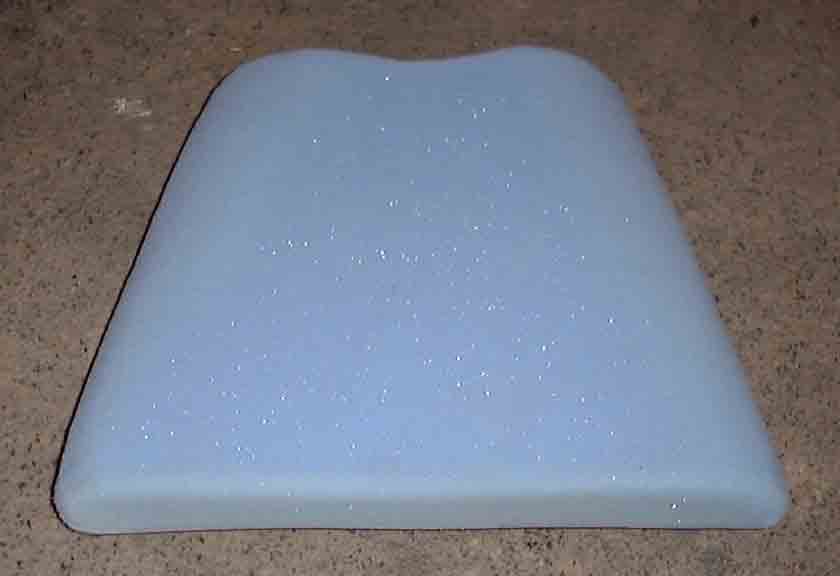
Roughly cut the foam to shape, leaving 2-3 mm all round. For this I used a paint scraper with a brand new 'Stanley' knife blade and by using a gentle side to side sawing action and peeling back the cut edge the rough form took shape. Finally using very coarse sand paper I rubbed down the foam to get the shape I wanted. Be gentle in your rubbing action with the sand paper and with a little patience you can get the foam to the shape required.
This is the first time I have attempted anything like this and was quite pleased with the result.


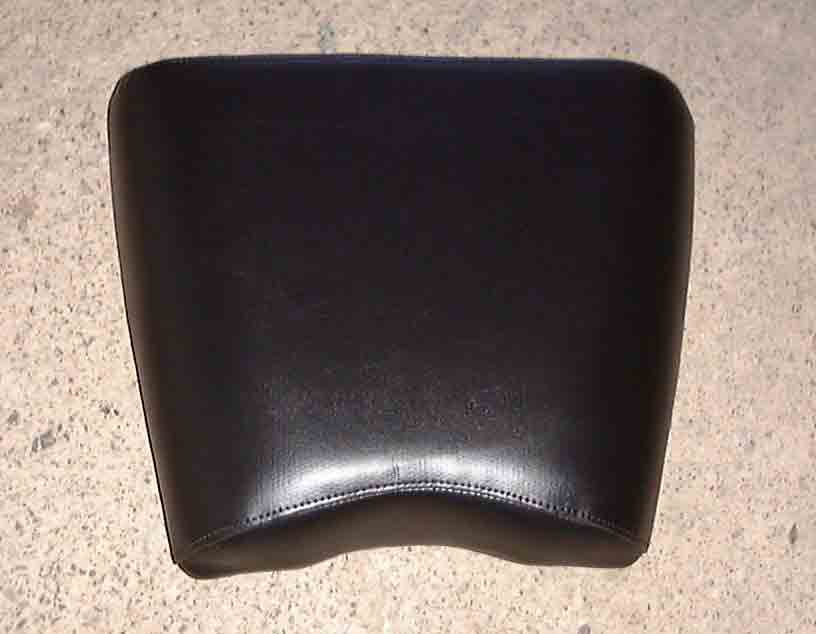
Finally, it's time to cover the seat pad.
The cover was custom made by a friend, thanks Jan - great job, I'm very pleased.
The whole unit ready to be dropped in place the same way as the original seat fitted to the bike.
The whole thing fitted to the bike - not so bad after all !!
Looking at it I may well remove the original subframe and custom fabricate an entirely new one which I can conceal under the seat unit.
That's for another day as the sun is shining a bit and it's time to ride !!

Home page